If you’re running low on storage space on your iPad, transferring some photos to your computer is a great way to free up space while keeping a backup. This guide will walk you through the steps to transfer photos from your iPad to a computer, whether you’re using a PC or a Mac.
Transferring Photos from Your iPad to a PC or Mac
On Windows, you’ll need to have iTunes installed. Connect your iPad to your computer using a USB cable. You can transfer photos using the Photos app, File Explorer (Windows), or Finder (Mac), or you can download them from your iCloud storage.
Method 1: Using the Photos App on Windows
- Update to the Latest Version of iTunes
- Make sure you have the latest version of iTunes installed. If not, you can download it from the Microsoft Store.
- To check for updates, open iTunes, go to the Help menu, and select Check for Updates. Follow the on-screen instructions to install any available updates.
- Connect Your iPad to Your PC
- Use a USB cable to connect your iPad to your computer.
- If your iPad is locked, unlock it to allow access.
- If prompted to trust your computer, tap Trust or Allow on your iPad.
- Open the Photos App
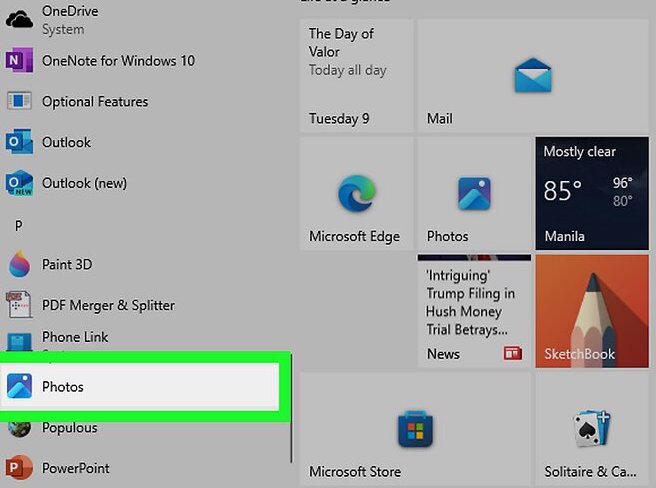
- Click the Windows Start button.
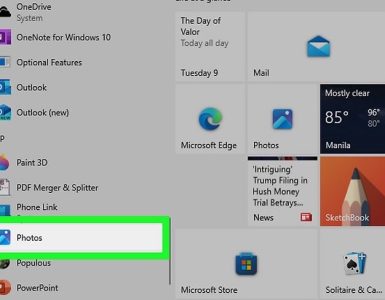
- Type photos and click the Photos app icon.
- If this is your first time using the Photos app, you’ll need to set it up by following the on-screen instructions.
- Import Photos
- Click Import in the upper-right corner.
- Select Apple iPad from the drop-down menu.
- Your computer will start searching for photos on your iPad. This may take a few moments.
- Choose the photos you want to import by checking the boxes.
- You can select individual photos or use the Select All option to import all photos.
- The Select New option allows you to import only new photos that haven’t been imported before.
- Click Add [number] items.
- Select a folder to save the images or create a new folder.
- Click the Pictures folder to expand it.
- You can also click Create folder at the bottom to create a new folder. Enter a name for the folder and click Create.
- Click Import to start the transfer process.
- Once the importing is complete, you’ll receive a notification in the bottom-right corner of the screen.
Method 2: Using a Mac
- Connect Your iPad to Your Mac
- Use a USB cable to connect your iPad to your Mac. You may need a USB 3.0 to USB-C adapter if necessary.
- Ensure your iPad is unlocked to allow access.
- If prompted to trust your computer, tap Trust or Allow on your iPad.
- Open the Photos App
- Click the Photos app icon in your Mac’s Dock.
- If this is your first time using the Photos app, you’ll need to set it up by following the on-screen instructions.
- Select Your iPad
- Click your iPad’s name under the Devices heading on the left side.
- If your iPad doesn’t show up, ensure it’s unlocked and properly connected.
- Import Photos
- Select the photos you want to download.
- You can select individual photos or skip this step to import all new photos.
- Click Import Selected in the upper-right corner.
- The button will display the number of selected images (e.g., Import 10 Selected).
- For all new photos, click the blue Import All New Photos button.
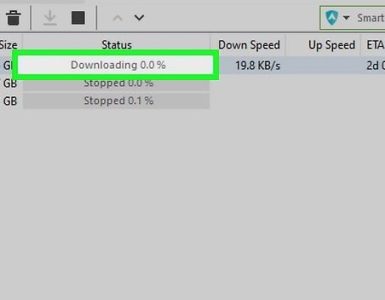
- Your selected photos will begin importing onto your Mac.
- Once the importing is complete, you’ll see the photos in your Photos library.
- Select the photos you want to download.
Method 3: Using File Explorer or Finder
- Update to the Latest Version of iTunes (Windows Only)
- Ensure your iPad is recognized by having the latest version of iTunes installed.
- To check for updates, open iTunes, go to the Help menu, and select Check for Updates. Follow the on-screen instructions to install any available updates.
- Connect Your iPad to Your PC or Mac
- Use a USB cable to connect your iPad.
- Ensure your iPad is unlocked to allow access.
- If prompted to trust your computer, tap Trust or Allow on your iPad.
- Open File Explorer (Windows) or Finder (Mac)
- On Windows, press Windows Key + E to open File Explorer. On Mac, click the Finder icon in the Dock.
- In File Explorer or Finder, click Apple iPad from the left menu to access internal storage.
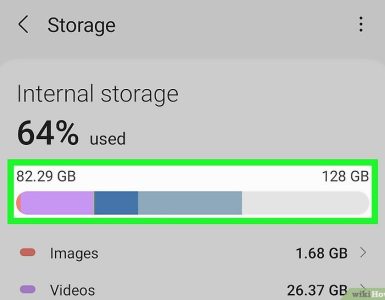
- Access iPad Storage
- Click Apple iPad from the left menu to access internal storage.
- Open the DCIM folder. This folder contains all the photos and videos on your iPad.
- Photos may be scattered across multiple folders, so you’ll need to check each one.
- Transfer Photos
- Select the photos you want to transfer.
- To select multiple photos in sequence, hold Shift and click the first and last photo.
- To select multiple non-sequential photos, hold Ctrl (Windows) or Command (Mac) and click each photo.
- Right-click and choose Copy or Cut.
- Paste the photos into the desired folder on your computer by right-clicking and selecting Paste.
- Select the photos you want to transfer.
Method 4: Using iCloud
- Ensure iCloud Saves Your Photos
- Go to Settings on your iPad.
- Tap your name at the top, then iCloud.
- Select Photos and ensure the iCloud Photos toggle is turned on.
- Access iCloud Storage from Your PC or Mac
- On Windows, install the iCloud app from the Microsoft Store. Sign in with your Apple ID, and access your iCloud storage in File Explorer under iCloud Drive.
- On Mac, iCloud Drive comes pre-installed. Open Finder and click iCloud Drive in the left menu.
- Alternatively, access iCloud Drive from a web browser by going to https://www.icloud.com/iclouddrive. Sign in with your Apple ID.
- Transfer Photos
- Open the folder containing your photos.
- Select the photos you want to transfer.
- To select multiple photos in sequence, hold Shift and click the first and last photo.
- To select multiple non-sequential photos, hold Ctrl (Windows) or Command (Mac) and click each photo.
- Right-click and choose Copy or Cut.
- Paste the photos into the desired folder on your computer by right-clicking and selecting Paste.
By following these steps, you can easily transfer photos from your iPad to your computer, ensuring you have a backup and freeing up valuable space on your device.


Add comment